![]()
![]()
DPS945
Web Programming - Modern Apps
Denmark info Notes Weekly Resources Graded work Policies Standards Professors & addendum Code examples
© 2019 - Seneca School of ICT and Business Academy Aarhus
Introduction to Postman
Postman is an app that enables web programmers to interact with a web service (aka web API).
This kind of app enables us to focus on web service creation - which is a server-focused development effort - without the additional burden of creating a separate client/requestor app that interacts with the web service. It is the client app as we test and interact with the web service.
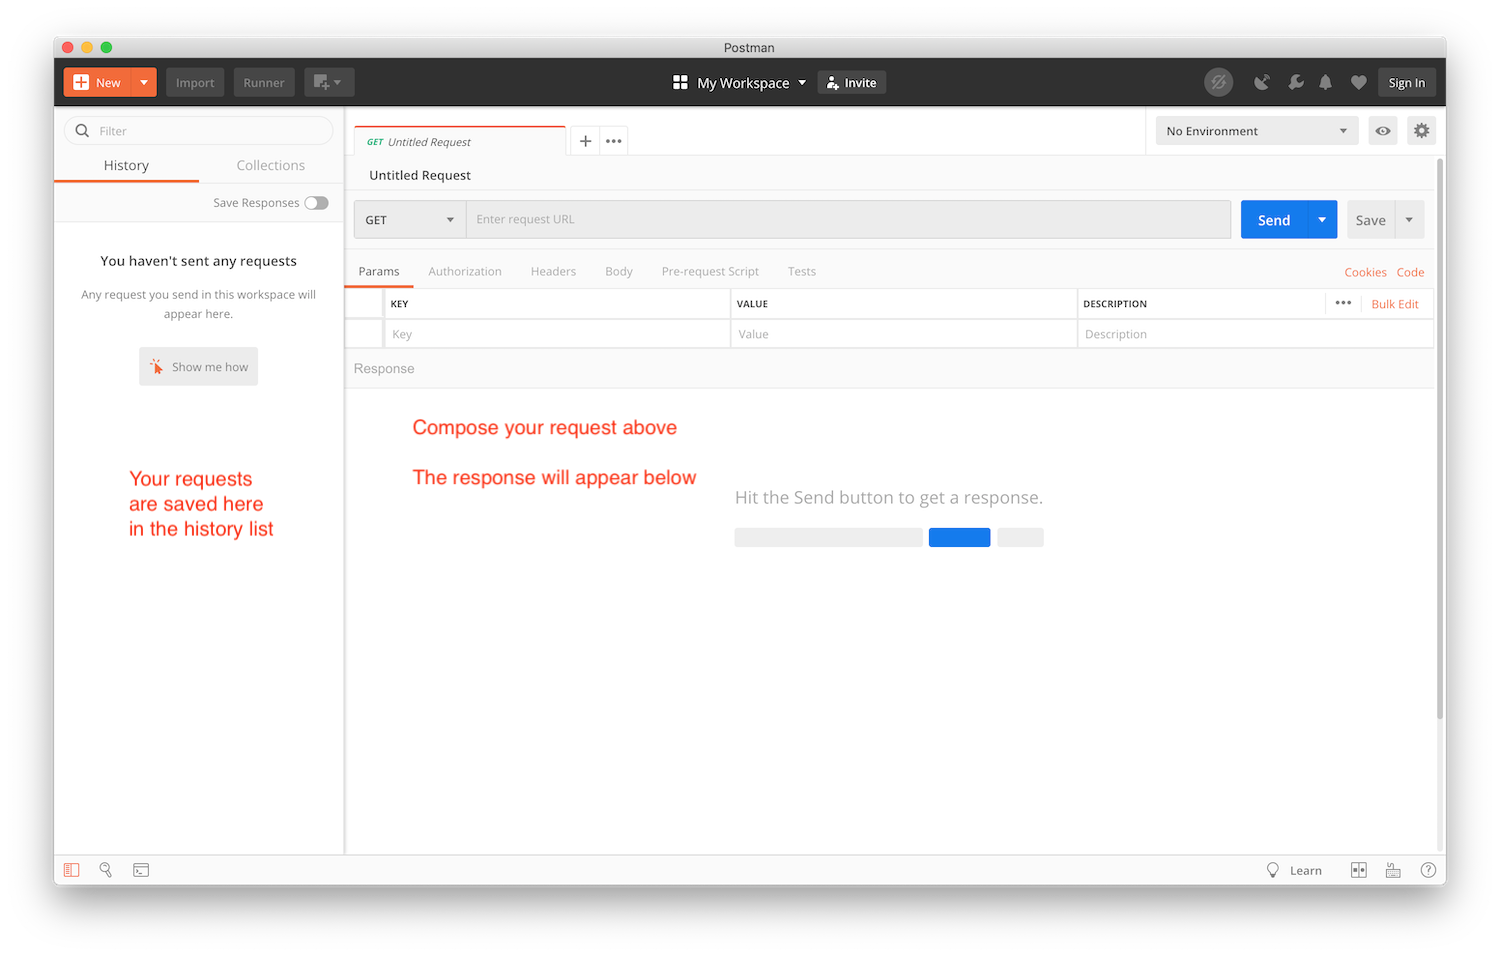
Its user interface gives us the ability to “compose” a request. Then, we can send the request. Finally, we can inspect the response. The app saves a history of requests, making it easy to see that you’re making progress.
Important features
For beginners, there are three important features:
- Request composer - enables you to compose and send an HTTP request
- Request and response viewers - enables you to inspect the contents of both the request and the response
- List of past requests - saves all requests as a history
What is an HTTP request?
As you know, HTTP is a message-passing protocol, between two endpoints. One end will send a request, and the other will send a response.
The requester can be a browser (which is what all students have experience with), or it can be a component in an app. For example, almost every smartphone app includes a component - generically known as an HTTP client - that enables it to communicate with a web service.
HTTP defines several kinds of requests. At a minimum, a simple “get me some data” request must include the HTTP method (e.g. GET, POST, etc.), and a URL. Other kinds of requests must include other metadata.
Remember, RFC 7231 is the authoritative resource for the HTTP protocol.
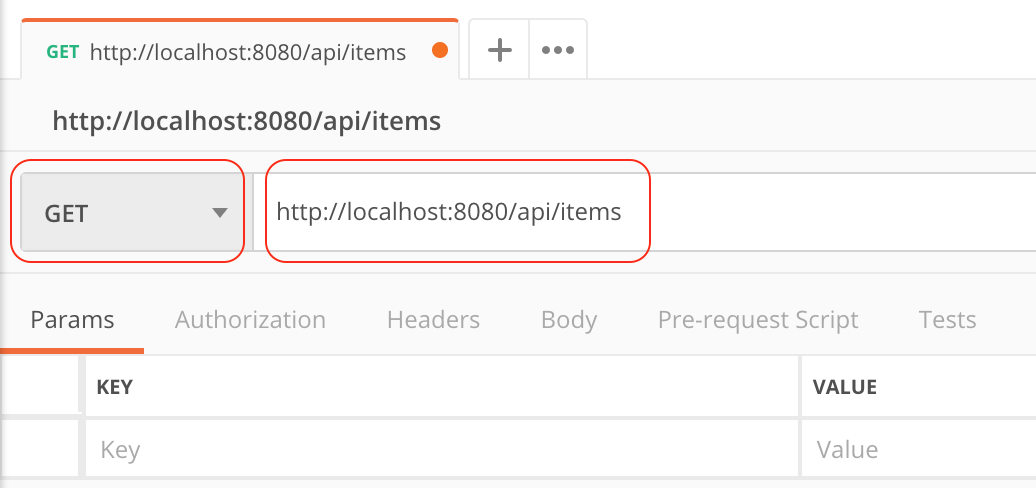
Compose a request - GET
To compose an HTTP GET request, two settings are required:
- HTTP method, GET
- URL of the collection or object
Other settings may be required (e.g. security-related info, etc.), and we’ll see those in the future.
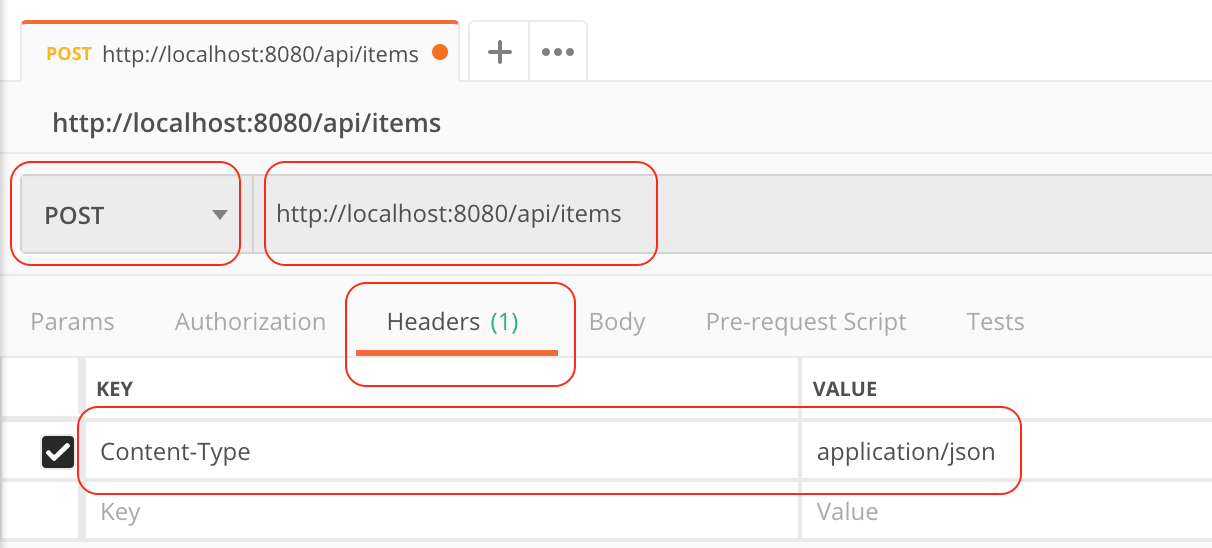
Compose a request - POST
A POST request is designed to enable the requestor to “add” a new item to the collection that is represented by the URL. Obviously, when compared to a GET request, more is required.
To compose an HTTP POST request, four settings are required:
- HTTP method, POST
- URL of the collection
- A header that defines the content type of the data we’re sending
- Data (the new item)
As above, other settings may be required, but these will enable you to get started.
The image below shows a simple post request, with metadata for the first three settings. Notice that you must select the “Headers” tab to get to the data-entry panel. The header we want is Content-Type, and its value will be application/json, because that’s what we’re sending
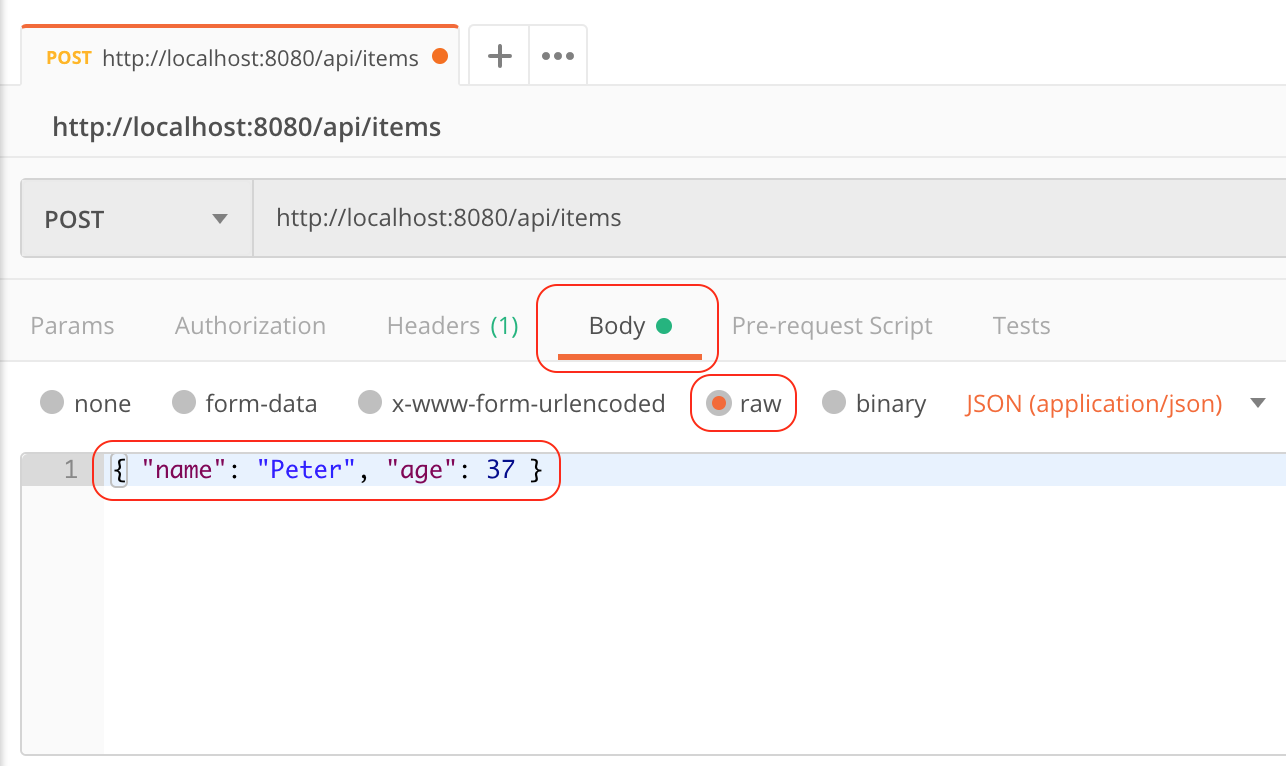
The image below shows how to enter metadata for the fourth setting. Select the “Body” tab, and then select “raw”. Then, in the text entry area, add the JSON that correctly defines a new item for the collection.
More about Postman
The official help docs will enable you to become more comfortable. Go through these learning resources: